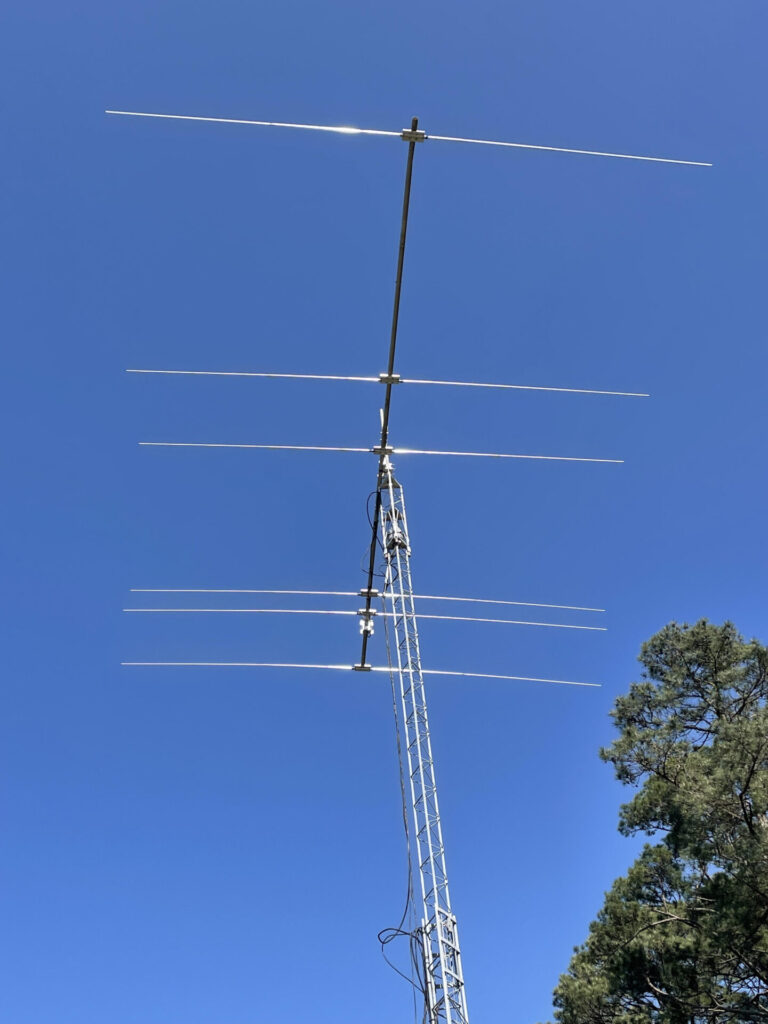
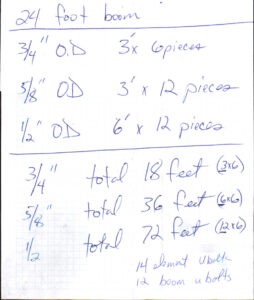
12-meter OWA Yagi – 5-elements on 24-foot boom
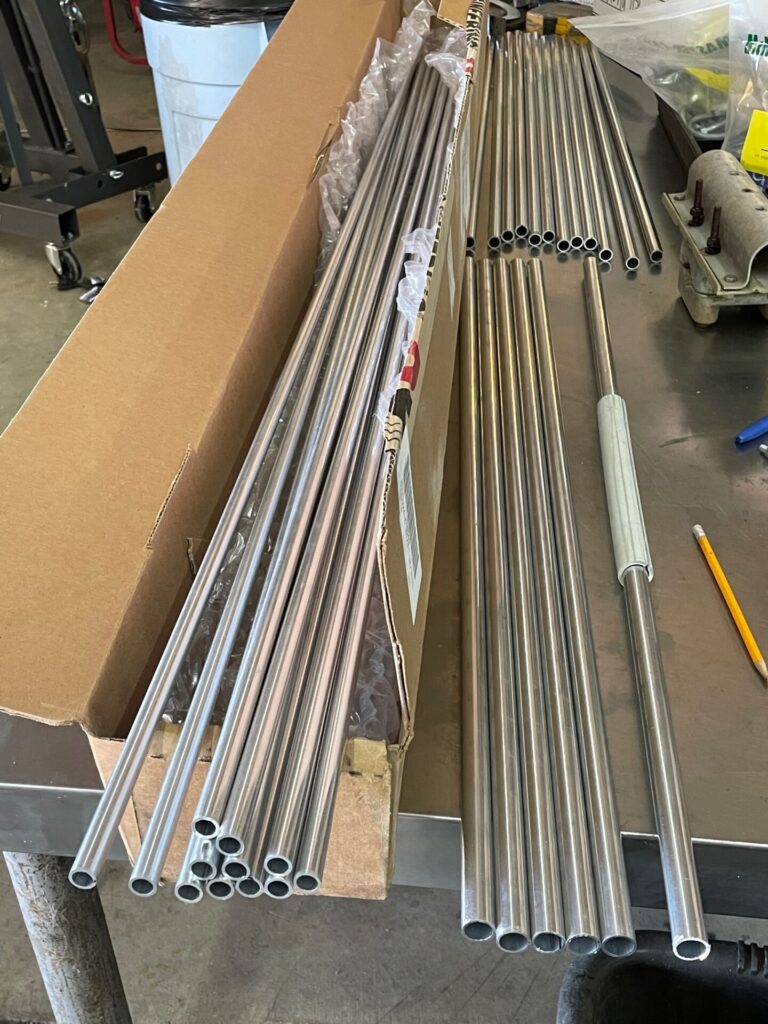
3/27/2022 – With a box of shiny tubing from DXE, and an OWA design from my friend, I tackled an antenna construction project today.
Since selling my Lightning Bolt 2-element 5-band cubical quad a few years ago, I have not had an antenna for 12 meters. My DXCC count is low on that band, so I figured that with the uptick in propagation, now is as good a time as any to tackle this project.
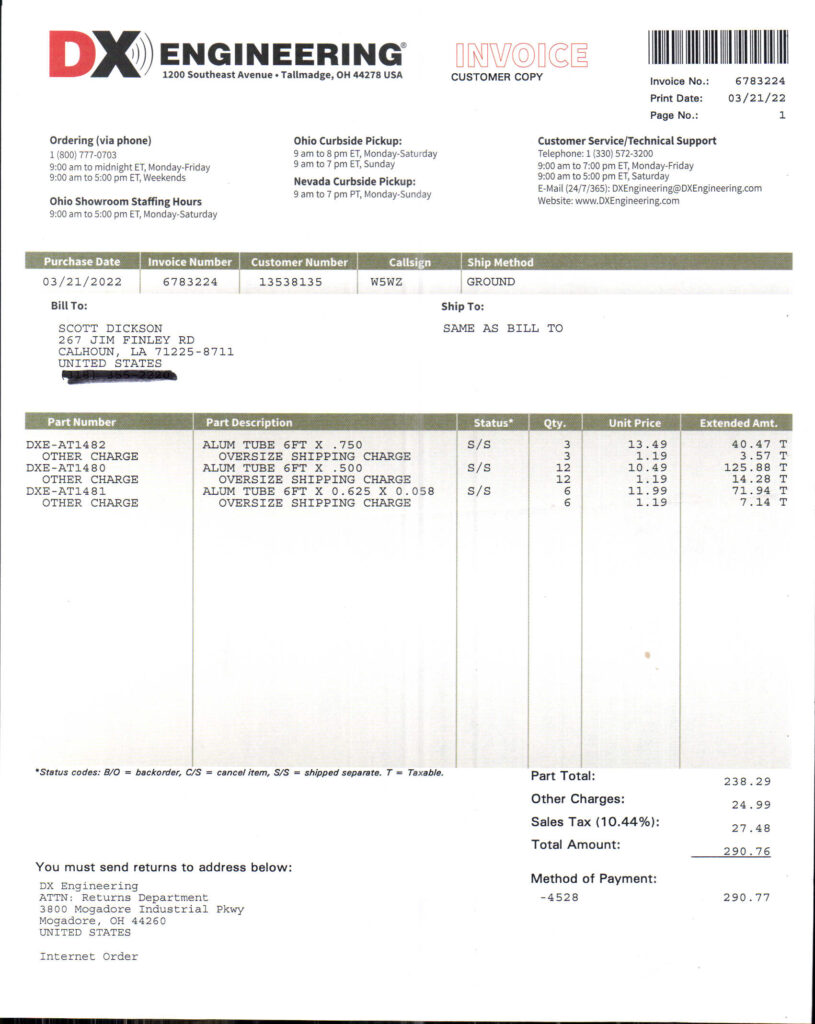
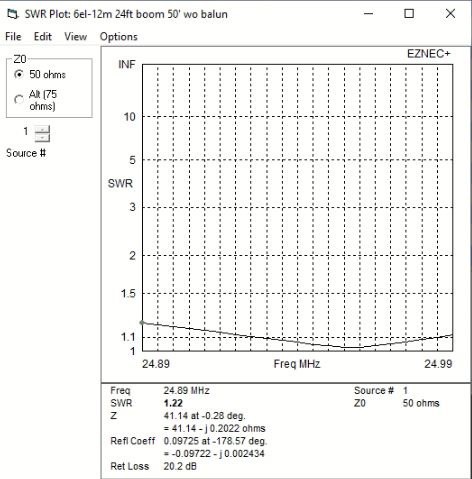
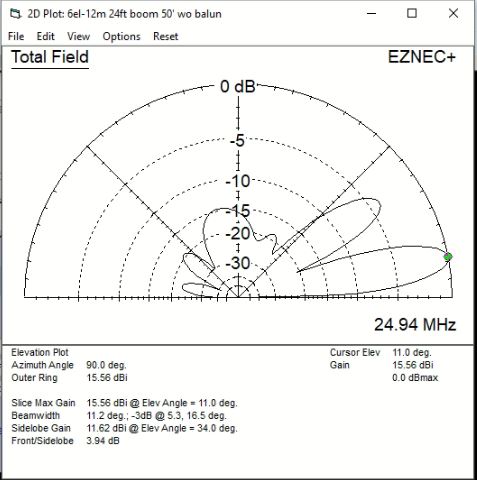
Some time ago I asked around for an OWA design to use a 24-foot boom (salvaged from an old TH6?). Once I had the design in hand, I plugged it into EZNEC 6.0, and agreed with the designer’s conclusions. Download my EZNEC file for this antenna. I made a parts list and placed an order from DXE for the tubing (surely there are others suppliers around, but I can’t find them using Google search) and another from McMaster-Carr for the hardware needed.
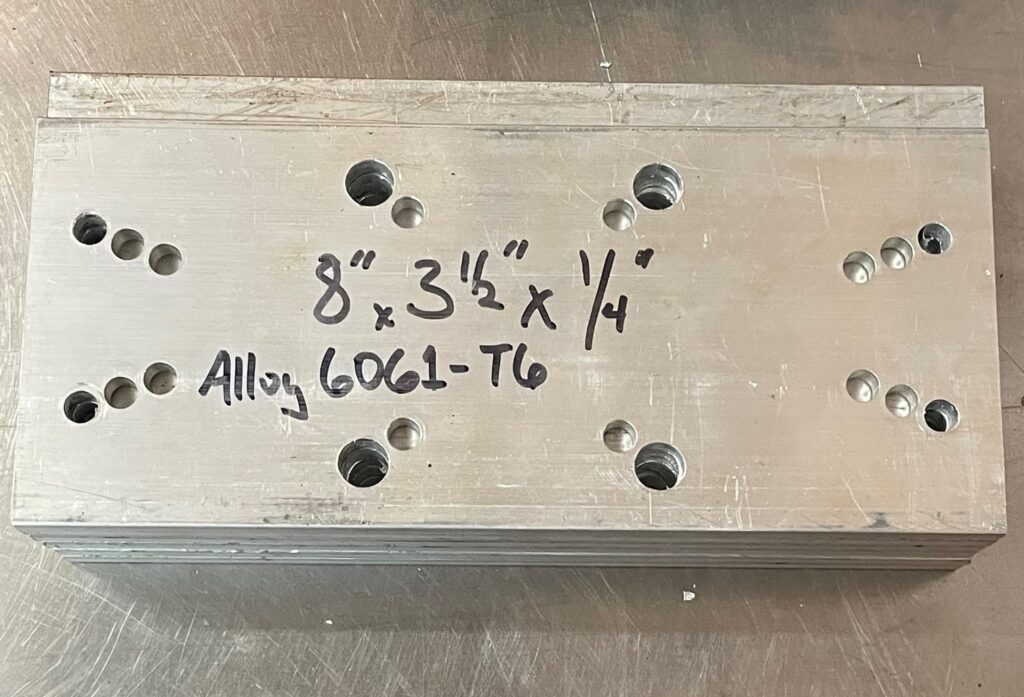
With some aluminum flat bar cut to length, a drill press made quick work punching holes in the boom-to-element plates (I used a DXE model as a template).
The Sawzall was employed to cut the tubing to the needed lengths, followed by a thorough deburring of all tubing ends. Measured and marked the “exposed” lengths of tubing, inserted to the marks, and drilled three 1/8″ holes for pop rivets. Pulled the tubing out, deburred the drilled holes, then coated the insertable tip with a copper-impregnated anti-seize compound. Aligned the holes and riveted the tubing together. The halves of the driven element are separated by 2-inches, supported by a 0.75″ fiberglass rod inserted into both halves.
With the elements assembled, I moved outdoors to assemble the boom and install the boom-to-element plates. After that, installing the elements was a piece of cake.
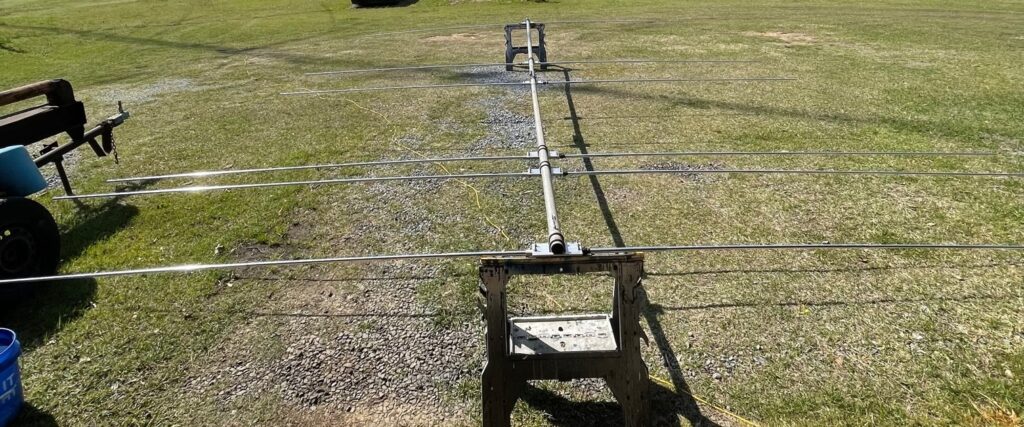
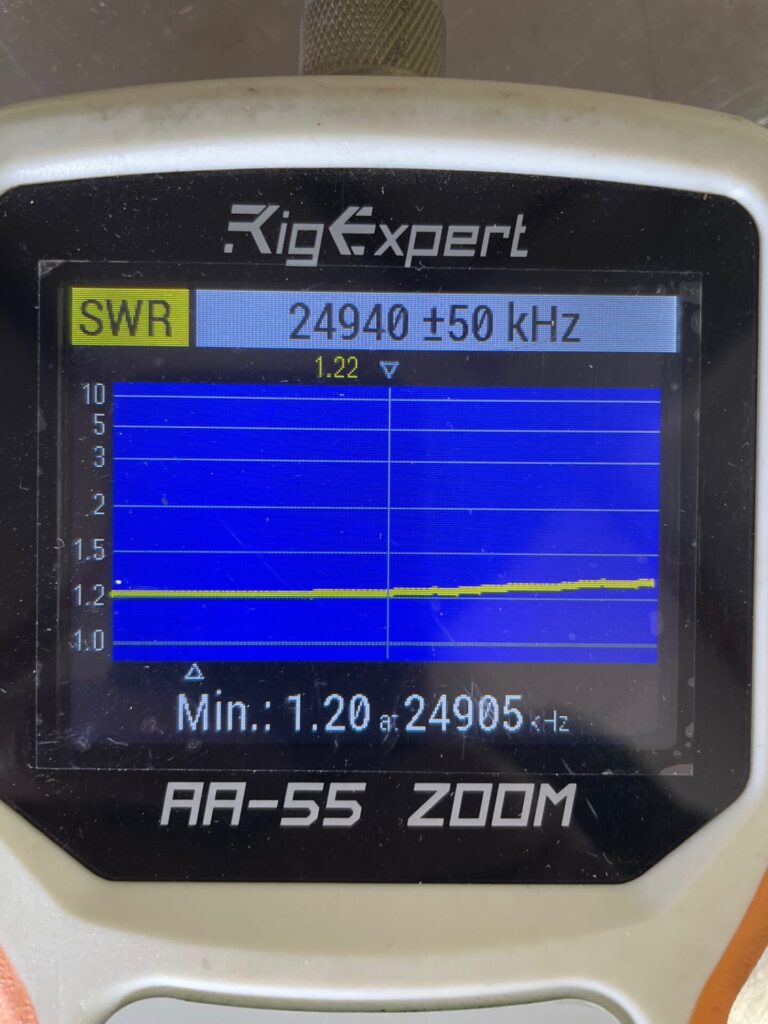
Still sitting on sawhorses, the initial SWR and R,X sweeps are nearly identical to the EZNEC model, and this is direct-feed.
I’ll update this post when the antenna is in service. I think it is going to be a flamethrower!

4/15/2022 – Good Friday, and good Friday! I was off work. Woke up at 0400 and was wide-awake. Decided today was a good day to install the antenna. So, working alone with tractor and pallet forks, along with an 8-foot ladder, I was able to remove the KT-34 and install the 12-meter yagi. Initial tests are promising – worked YV4 and VP2V right away, 100 watts CW.
A comparable commercially build yagi is the M2 12M4DX which is priced at $1,908.95.
I used a Balun Designs Model 1115t – 1:1 Isolation – Suppression Balun at the feed point, cost to my door about $65.