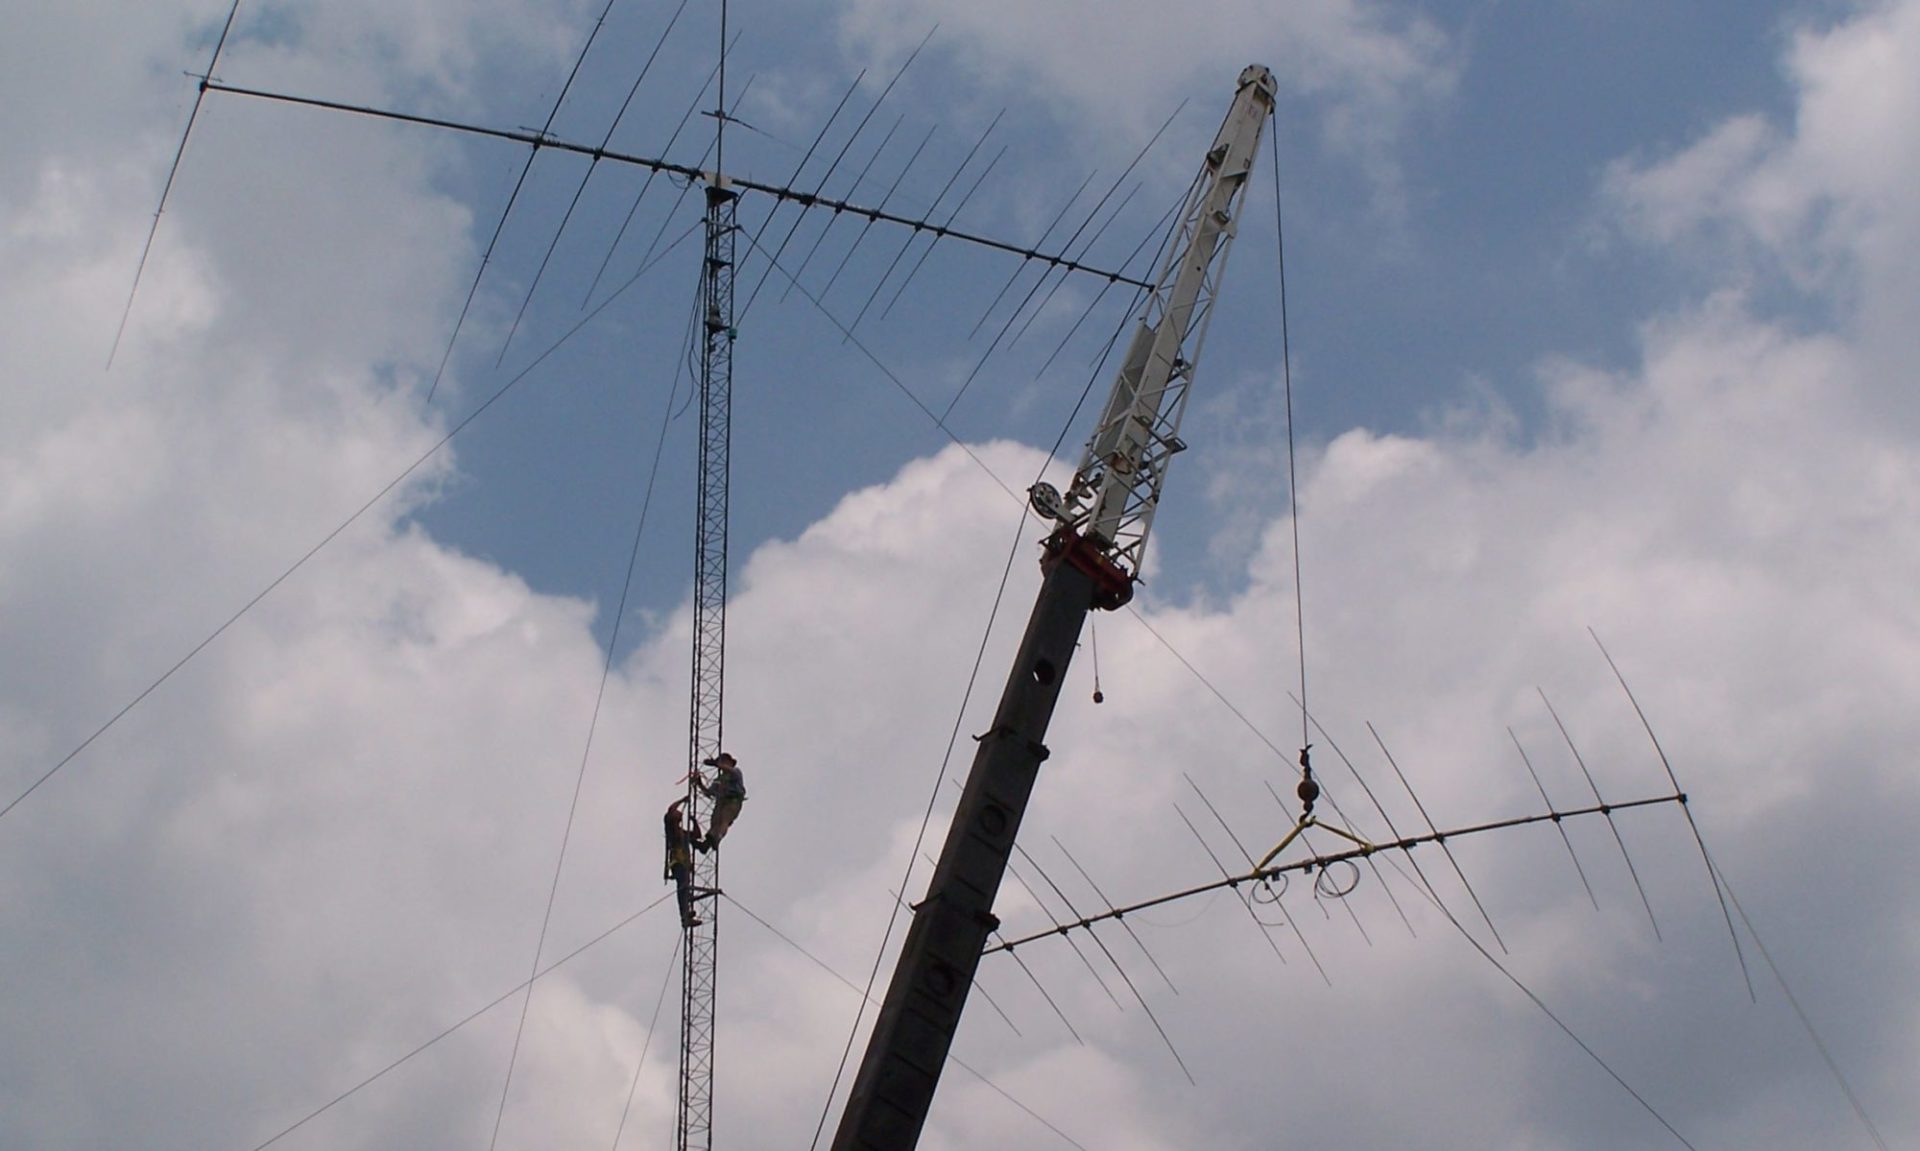
All tower owners should regularly inspect their complete tower system – guys, guy anchors, guy wires, tower base, section bolts, turnbuckles, etc – the complete tower system. Before I climb, I visually check all I can see. When I climb, I check section bolts. And about once a year, I check guy tension and adjust as needed.
| 10 Feb 2021 | NW Guy | NE Guy | S Guy |
| Top 1/4″ | 29 | 29 | 28 |
| Mid 3/16″ | 19 | 18 | 18 |
| Bottom 3/16″ | 20 | 20 | 19 |
This process led to me emailing Tim W3YQ to ask his thoughts. Here is the reply:
Well, here’s my thoughts. Plumb is much more important than guy wire tension – within reason. To have a tower in plumb, the whole structure is in compression. It won’t fail. Just like a pencil – you can’t smash it with a downward force, but you can snap it by bending it in the middle.
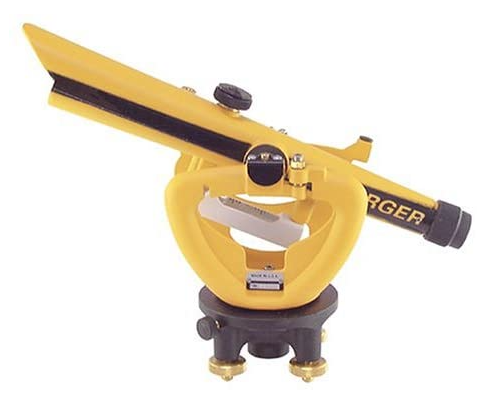
I know of only two ways to plumb a tower. The first, best, and easiest is to set up two transits; 90 degrees apart. Sight both transits to the bottom of the tower then move up to the first guy level. Get the tower straight up to that point. I usually use the width of a Rohn tower leg as my “good enough” standard. If the tower’s way out of plumb, you might have to mess with the other two sets of guy wires simultaneously. Sometimes it’s really hard to pull that first guy wire set in when the rest of the tower is fighting you. Once the lowest set of guys is done, move up to the next set.
The tension of the three guy wires of any level will (almost) never be equal. The only time that would occur is if you were on a perfectly flat plane and your guy anchor points are exactly on the money. Theoretical but not practical. Someone who adjusts all three guy wires to equal tension almost certainly have a crocked tower. Don’t worry about guy tension. Go for plumb. Use the tension gauge to help you get things set “close” to the suggested tensions. Err on the side of loose instead of tight. That 10% rule is a guideline and it’s purpose is to prevent the guy wires from galloping. They’ll do that in the wind if they’re much too loose. Loose guy wires, again within reason, exert less force on the structure. Yes, when you climb, there will be a little more movement with loose guy wires, but the tower is not going to fall over. Too tight, on the other hand, is exerting an extreme downward force on the tower. True that if you’re perfectly in plumb it won’t collapse, but why go there. So just use your Loos gauge as a guide. Never go above the 10% value on any guy wire, but try to get close to that value on the one that needs the most tension. Then adjust the other two guy wires for plumb and not tension. I usually check the tension of all three and I generally find that they’re way off from each other. That’s OK.
The second method: It IS possible to plumb by attaching a small rope at each guy level, one at a time. Center it in tower, hang it down through the middle of the tower, and attach a weight at the bottom. Then stick a bucket of water for the weight to rest in. I guess you call that a plumb bob. The water keeps the weighted rope from swinging. It’s kind of a PITA, but it works.
So, this led to me purchasing a transit and acquiring another to be able to properly do “Method One” above. Once all the components arrive, I’ll post an update on the project.
Hi Scott, Bob, W7RR here.
After doing some tower work this month I happened onto your discussion with W5YQ about tower alignment, guy tension, and found it very interesting. When I first installed my 155’ tower in the early 90’s I used what I had available, a simple plumb bob to align the tower. Living on a windy hill top it took weeks to plumb the tower, and guy tension was on the loose side although its stood 80/90 MPH winds for almost 30 years..
Present day I had to do some tower work and found it necessary to recheck tower alignment and guy tension. After reading your discussion I thought you might find it interesting to hear about a slightly different method than two optical telescopes, or moving one telescope from location to location..
Living in the forest complicates observations as I only have one spot, 150’ feet away that I can see the top of my tower. To solve my dilemma I used an old surveyors total station, found on Ebay ( less than $500 ) that incorporates a laser measurement tool. The optical sight was used for right and left alignment, all from one location. For the third dimension, distance, I used the laser feature with reflectors at each guy station and the base. It automatically computes horizontal distance to .001 feet. Guy tension was measured with Dillon dynamometer that I found on Ebay for $50.
If you see any holes in my procedure please comment. I haven’t run across any hams using this method to date. Thanks for posting your discussion, its helpful to see what others are doing.
73,
Bob W7RR
Good discussion. I was involved with a project that required the erection of a 380′ Pirod tower. We contracted a professional, experienced erector to do the tower install. The method used to
plumb that tower was to utilize two leveling transits, placed 120 degrees apart. They had their ground crew members cranking on the tensioning jacks while two others monitored the towers leg movement on the crosshairs of the level. Once it was where they wanted it to be, they then took up the slack with the very large turn buckles and made final adjustments. They went through this routine at every guy attachment point. Tower was straight as an arrow looking up at the tower from it’s base. It was for a microwave installation and also supported 49 MHz Yagis. Sure was a solid tower. They also installed a halo grounding system around the base of the tower and around the outer base of the equipment building. They cad-welded each connection of the halo ground system to the many ground rods they installed. Overall it was a very solid install. 73, Joe W4JF
Joe,
Great feedback. Thanks!
73, W5WZ